Creating a DHIS2 Web app
It's time to create a new Web app! Below we'll show you how to quickly bootstrap an app and how to connect it to a DHIS2 instance.
note
If you haven't yet set up the DHIS2 CLI, head over to the Prerequisites and Initial Setup page to find the d2 installation instructions.
Creating a new Web app
- From the terminal, create a new DHIS2 app called "my-app"
d2 app scripts init my-app
- Change directories to
./my-appand start the app
cd my-app && yarn start
Connecting your Web app to DHIS2
- From the browser, navigate to your DHIS2 Web App, which by default runs under port 3000 http://localhost:3000. You will see the following page:
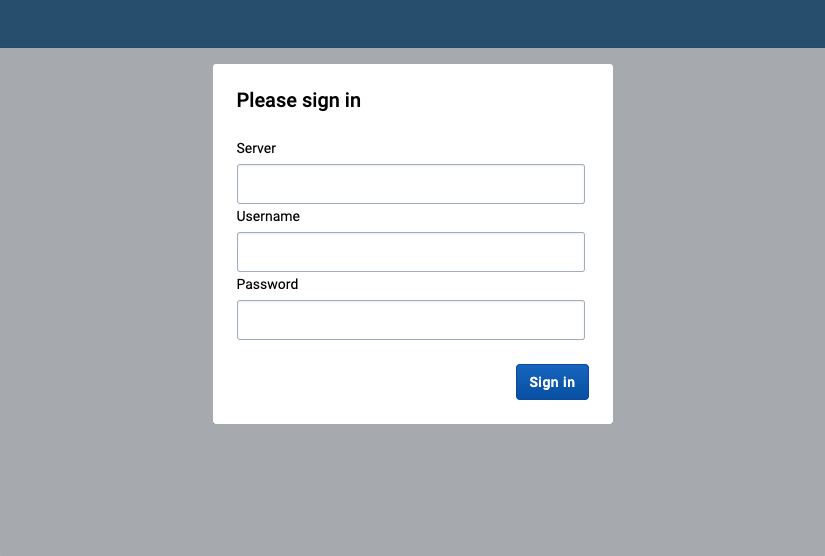
- Enter your DHIS2 server URL and the username and password of the default admin user (local DHIS2 instance assumed in the example below)
server: http://localhost:8080
username: admin
password: district
note
If you're running into some Cross-Origin Resource Sharing (CORS) policy issues when trying to connect to your application, please check the guide on how to debug common development errors.
- You will see the default admin user name and a welcome message
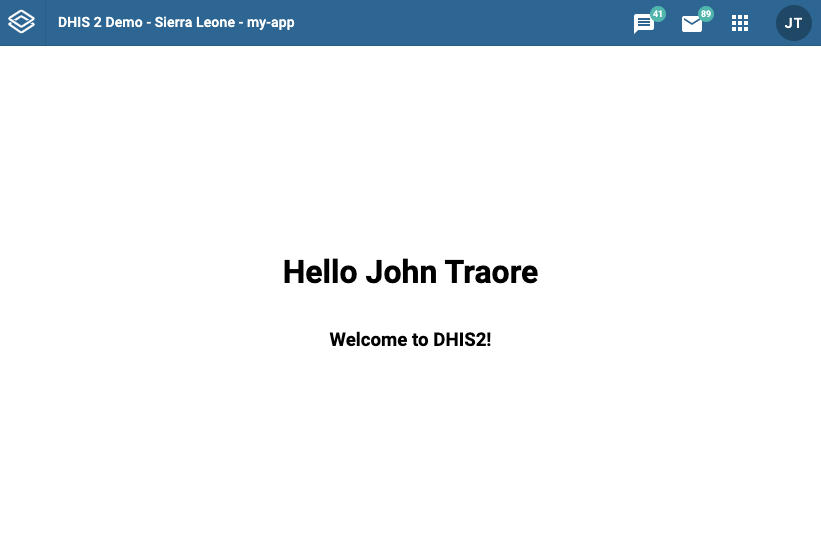
Congratulations! You are ready to start developing a DHIS2 app 🎊
Next steps
Now that you have created a DHIS2 app and connected it to a DHIS2 instance you can learn more about developing apps on DHIS2.
- Learn more about DHIS2 apps from the developer documentation
- Watch training videos from the videos section
- Join our Developer Events published in the Events Calendar
- Join our next Developer Academies