How to spin up a DHIS2 local instance
This is a quick guide on how to easily create a DHIS2 instance on your local machine and setup the DHIS2 CLI.
Some of the benefits of using local instances are: (1) we can run multiple different DHIS2 versions at the same time and (2) testing is easier as the DHIS2 server runs locally and is not dependent on a network connection.
These steps will help you quickly spin up a server and get you started with DHIS2 application development!
1. Installation
First, make sure to install the following 👇
yarn global add @dhis2/cli
Check the d2 command-line tool with d2 --help for more information on available commands.
2. Run d2 cluster
The d2 cluster command will allow you to launch a new cluster and create a DHIS2 instance using Docker containers. From your terminal, run the following:
d2 cluster up <name>
Or spin up a new DHIS2 instance of a specific version seeded with data from the Sierra Leone demo database.
See the DHIS2 in docker for a guide on how to set up a DHIS2 instance using Docker.
Note: Once the up command completes, the server might take up to a couple of minutes to start. You can then run d2 cluster logs 2.40.0 and wait until you see the line Server startup in xxx ms.
If you want to test against different DHIS2 and database versions or build your own custom DHIS2 Docker image, please refer to the d2 cluster docs.
Check your new DHIS2 instance
After the above command has completed you can check your newly created cluster that's running locally at http://localhost:8080/. If DHIS2 is running, you should see the following page:
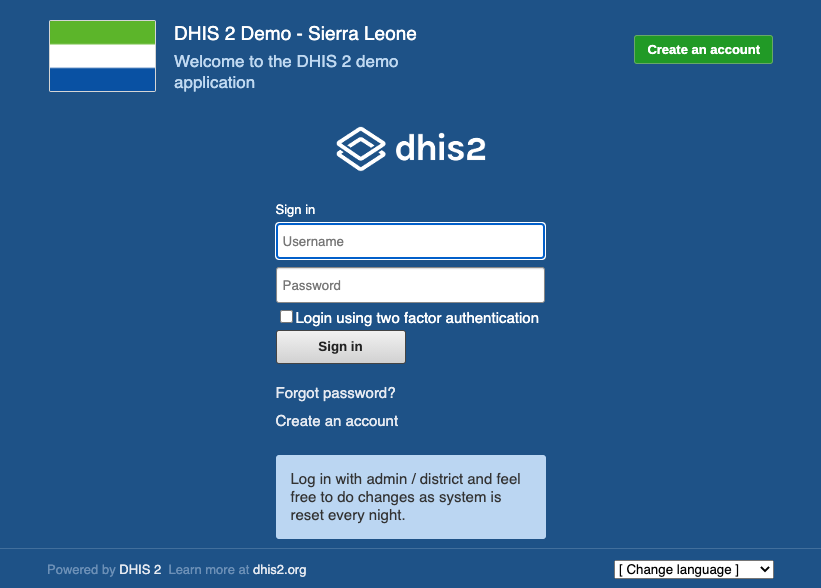
Login to your instance:
username: admin
password: district
Destroy and cleanup commands
The down command followed by the name of the cluster shuts down all Docker processes connected to that cluster (it basically destroys a running container):
d2 cluster down 2.40.0
The command down --clean destroys that cluster and also clears out all saved configuration, data volumes, and ephemeral containers:
d2 cluster down 2.40.0 --clean